Additive manufacturing (AM) is changing how we make parts. DFAM, or Design for Additive Manufacturing, means creating designs that work well with these new methods. This guide explains DFAM best practices in simple terms.

What is DFAM?
DFAM means designing parts with the unique features of AM in mind. Unlike traditional methods, AM builds parts layer by layer. This lets you make shapes that are hard to create with old methods.
Core Principles of DFAM
Good DFAM designs follow key ideas:
- Optimize Geometry: Design shapes that work well in layers. Avoid too many overhangs.
- Material Matters: Choose materials that suit your design and the AM process.
- Keep It Simple: Complex designs can slow down printing.
- Add Function: Use AM to create parts with built-in features like cooling channels.
- Plan Post-Processing: Think about cleaning up and finishing the part after printing.
Material Considerations in DFAM
Different materials behave in different ways during printing. Here is a simple table that compares common materials:
| Material | Key Feature | Tip for DFAM |
| Thermoplastics | Easy to print, flexible | Use thin walls to avoid warping |
| Metals | Strong, heat-resistant | Design for even heat distribution |
| Composites | Light yet strong | Account for directional strength |
Placeholder Image: “Table of material properties with visual icons”
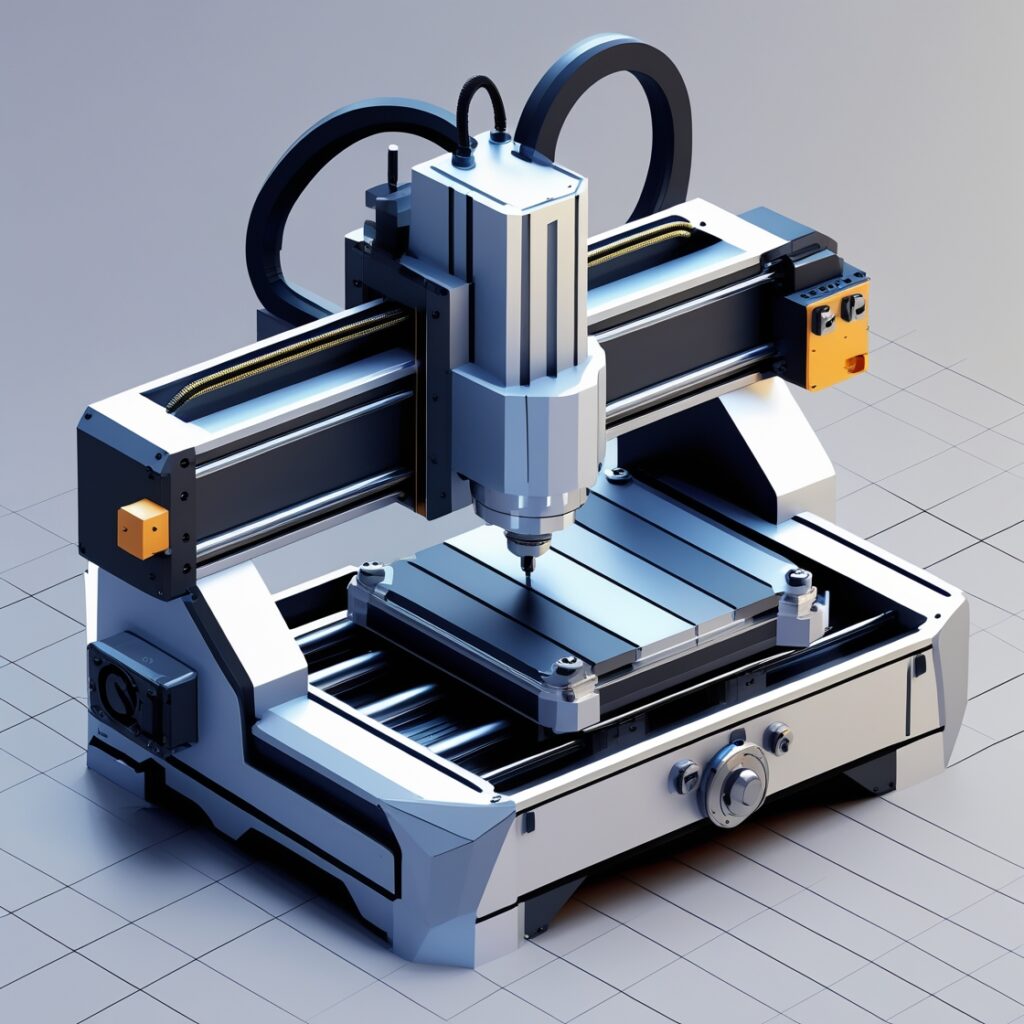
CAD Tools for Additive Manufacturing
CAD (Computer-Aided Design) software is essential for DFAM. These tools let you create and adjust your designs digitally. Programs like SolidWorks and Autodesk Fusion 360 now offer special features for AM. They help you see if your design will print well and suggest improvements.
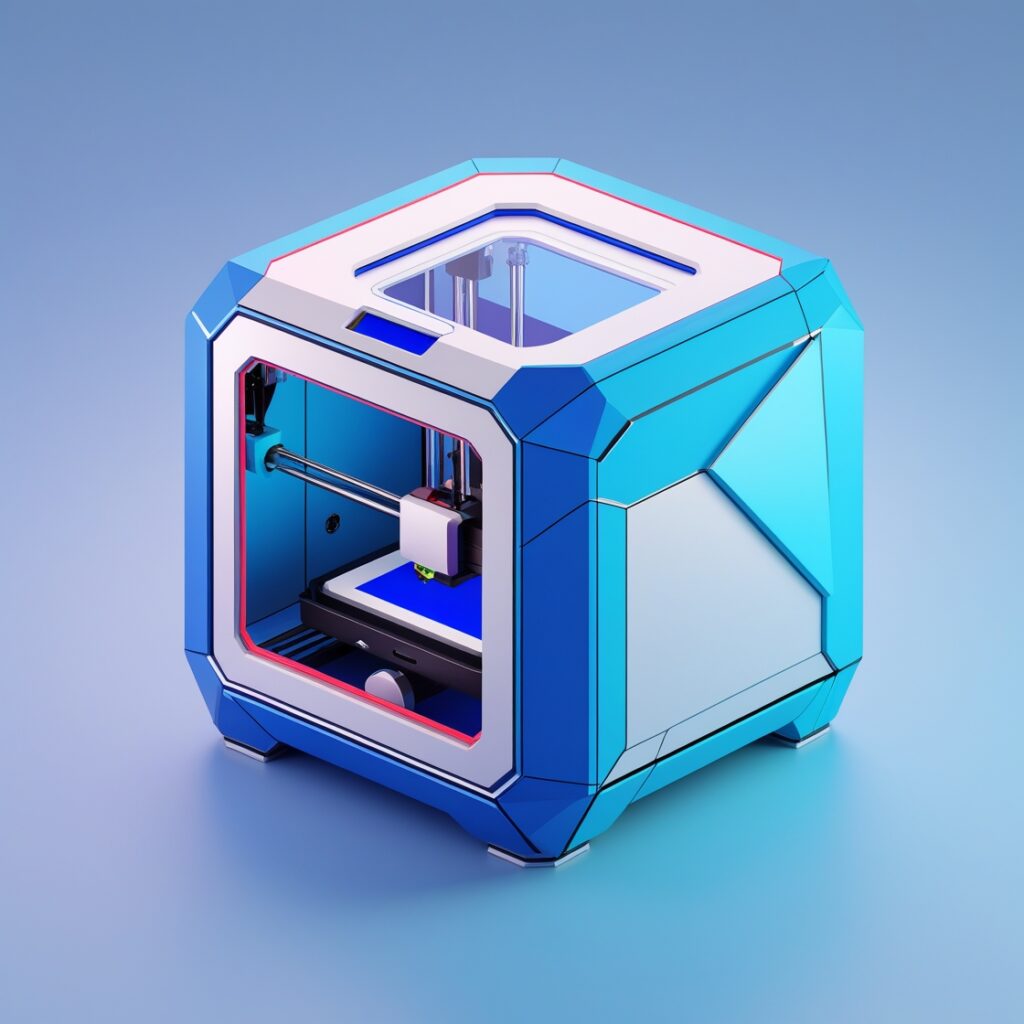
Slicing Software in Additive Manufacturing
Slicing software turns your CAD model into layers. It tells the printer how to build your design step by step. Popular slicing software such as Orca Slicer also show where supports might be needed. They help you adjust the print orientation to reduce extra work later.

Workflow for AM Design
Follow these clear steps to optimize your design with AM:
1. Set Goals and Limits
Decide what you want (e.g., lighter parts) and any limits (e.g., cost or size). For example, aim to cut an aerospace bracket’s weight by 20-50% within a 250x250x300 mm space.
2. Make a Starting Design
Use tools like SolidWorks to create a basic 3D model. This is your starting point.
3. Improve with AM Features
Redesign using AM perks like lattices or fewer parts. This can save 30-40% of material while keeping strength.
4. Pick Materials and Methods
Choose materials (e.g., titanium for strength) and printing methods (e.g., laser melting for precision). Adjust for your needs.
5. Test with Simulation
Use software like ANSYS to check how your design holds up. It’s 90-95% accurate, but watch for strength differences.
6. Prepare the File
Turn your model into a printable file and set layer sizes (0.1-0.3 mm) with supports. This saves material.
7. Print a Test
Make a prototype in 1-24 hours for $0.05-$1 per cm³.
8. Test the Prototype
Check it under real conditions (e.g., strength test). Use X-ray to spot tiny flaws.
9. Fix and Improve
Use test results to tweak the design. Each change can save 5-10% weight.
10. Finish and Record
Produce the final parts and save all details. Use digital twins to track progress.
AM Design Best Practices for Success in 2025
Follow these best practices to ensure high-quality, efficient, and cost-effective 3D printing results.
- 45-Degree Rule Best Practices: Design parts with overhangs under 45° to minimize support structures. This reduces material and cuts build time. Use software to adjust angles and test self-supporting designs for smoother finishes.
- Internal Geometries for Weight Reduction: Add lattices or hollow sections to lighten parts while keeping strength. Topology optimization can save material, ideal for aerospace brackets or medical implants. Ensure proper support to avoid collapse during printing.
- Material Selection for Strength and Bendability: Choose materials based on needs. Titanium (Ti-6Al-4V) offers strength (up to 1000 MPa) for rigid parts, while nylon provides bendability for flexible components. Test compatibility with your AM process (e.g., Selective Laser Melting for metals, FDM for polymers).
- Build Plate Optimization: Position parts on the build plate to avoid warping and improve adhesion. Place flat surfaces down and space parts evenly to ensure heat distribution. Use a raft or brim for stability, cutting failures by 20-30%.
- General Tips: Simulate designs with tools like ANSYS for 90-95% accuracy, document settings for repeatability, and minimize post-processing with smart design. These steps boost efficiency and quality in 2025.
Workflow Example: Minimizing Supports & Optimizing Part Orientation
Reducing supports can make your print cleaner and faster. Follow these steps:
- Check Overhangs: Look at the design for parts that stick out.
- Rotate the Model: Try different orientations in your slicing software.
- Simulate: Use software to see how many supports are needed.
- Select the Best Option: Choose the orientation with fewer supports.

Case Studies and Practical Examples
Lightweight Aerospace Component:
An aerospace company used DFAM to design a bracket. By adding internal lattices and choosing the best print orientation, they can reduce the part’s weight by 30% without losing strength.
Customized Medical Implant:
A medical team designed implants tailored to patients. They used DFAM to create smooth, strong parts that needed little post-processing, leading to faster production and better patient outcomes.
Conclusion and Future Directions
DFAM best practices help you make better parts with additive manufacturing. By using smart design, the right materials, and proper software tools, you can improve quality and save time. As AM grows, new tools and methods will make DFAM even more important. Join our Newsletter to stay updated with new trends to keep your designs at the cutting edge.
Are you interested in implementing additive manufacturing into your business? At GreenScale 3D (owner of 3DPrintBlog.com) we’re your trusted experts in AM development tailored for businesses like yours. Our comprehensive services—consulting, market reports, customized SOPs, and hands-on training—make integrating 3D printing seamless and stress-free. Plus, with our CAD design, prototyping, and 3D printing solutions, we offer a complete “done-for-you” approach. Focus on growing your business while we handle the innovation. Visit greenscale3d.com to learn more and claim your free 30 minute strategy session today!
Leave a Reply